Because I need another hobby like I need a poke in the eye with a sharp stick . . .
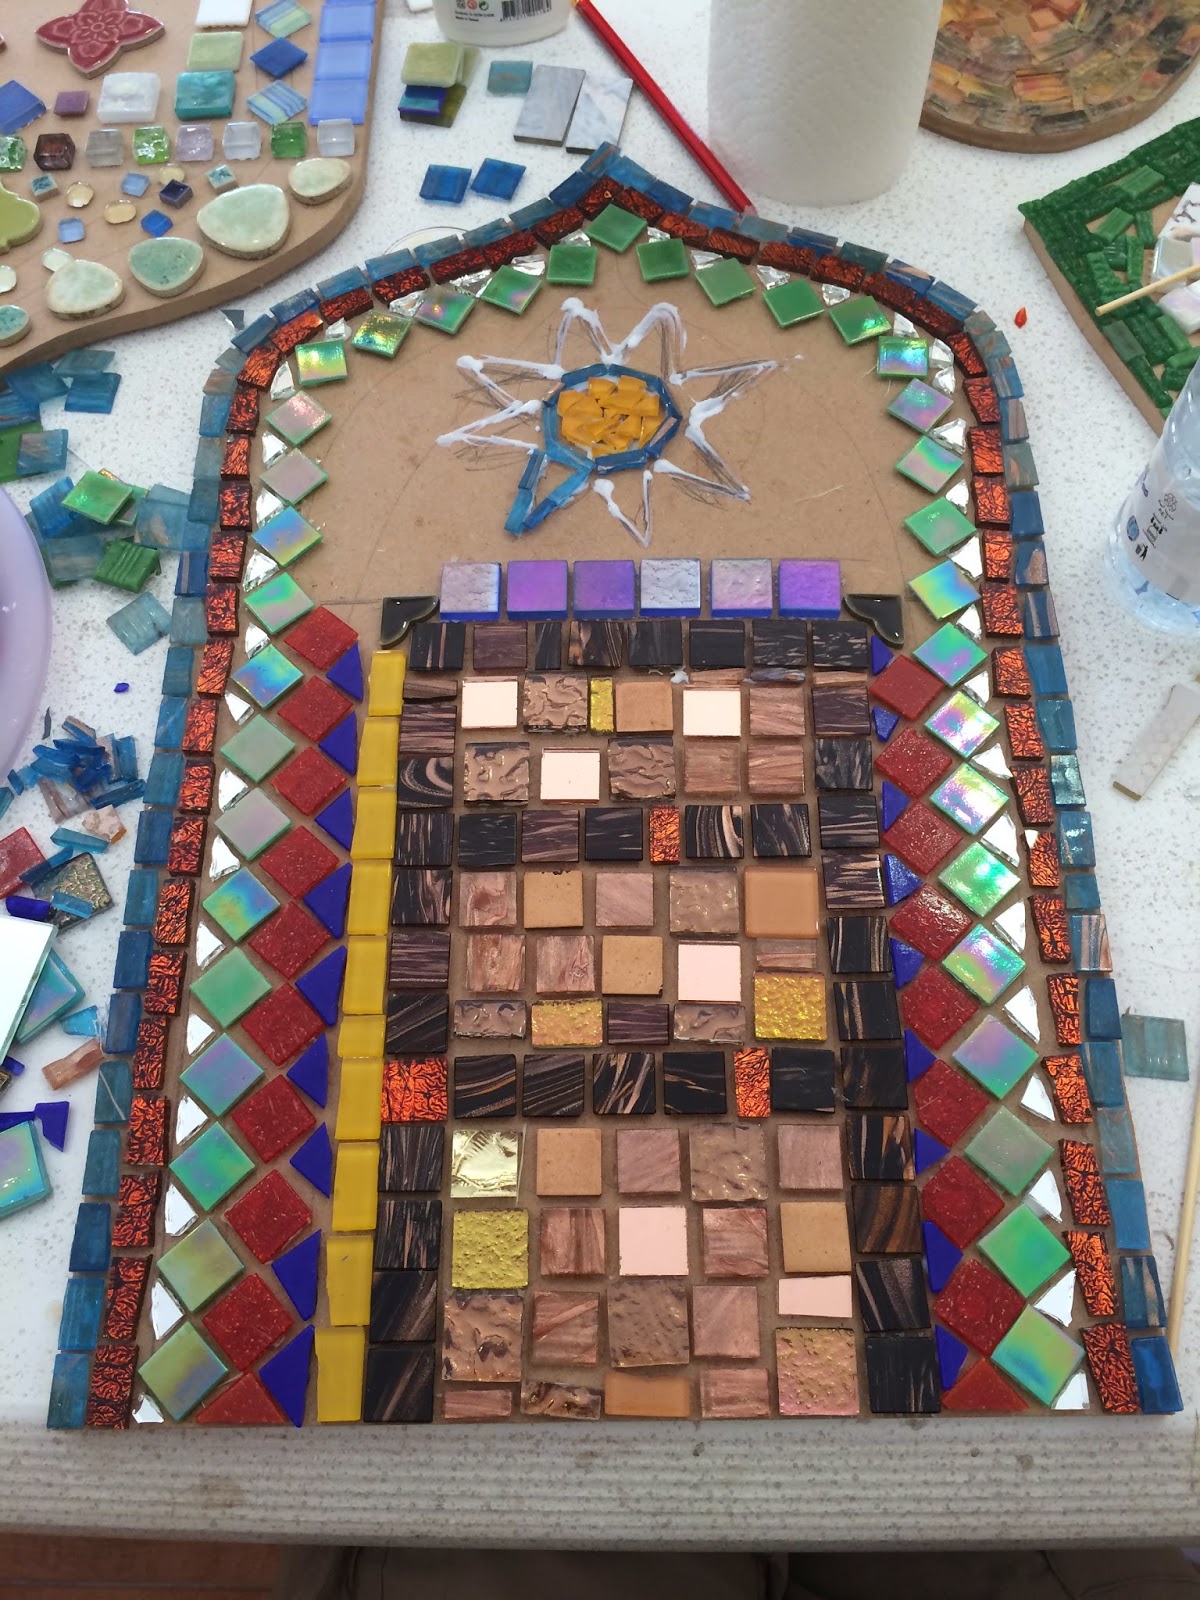
I went to a mosaic class with a group of friends a few Saturdays ago. You pick a wooden shape ahead of time and upon arrival, you start with a blank board. Mine is the shape of a door/archway like we see all over here in Bahrain. Other options are camels, Bahraini teapots, palm tree, hearts, a mosque, and more.

These two long tables are FILLED with jars of glass and ceramic tiles (and there’s a third table that’s not pictured). Me, a blank canvas, and 5 hours to create = heaven. Having a time crunch was actually a good thing for me because I didn’t have time to second guess my choices. I knew I wanted to do a door, so I found various light brown tiles and some dark ones to mimic the ironwork of the traditional styles. I thought we’d be using a super special adhesive on the tiles: nope! Just Elmer’s glue. You can see my glue outline in the top photo as I’m working on the sun.

I love this camel with the bejeweled blanket over his hump
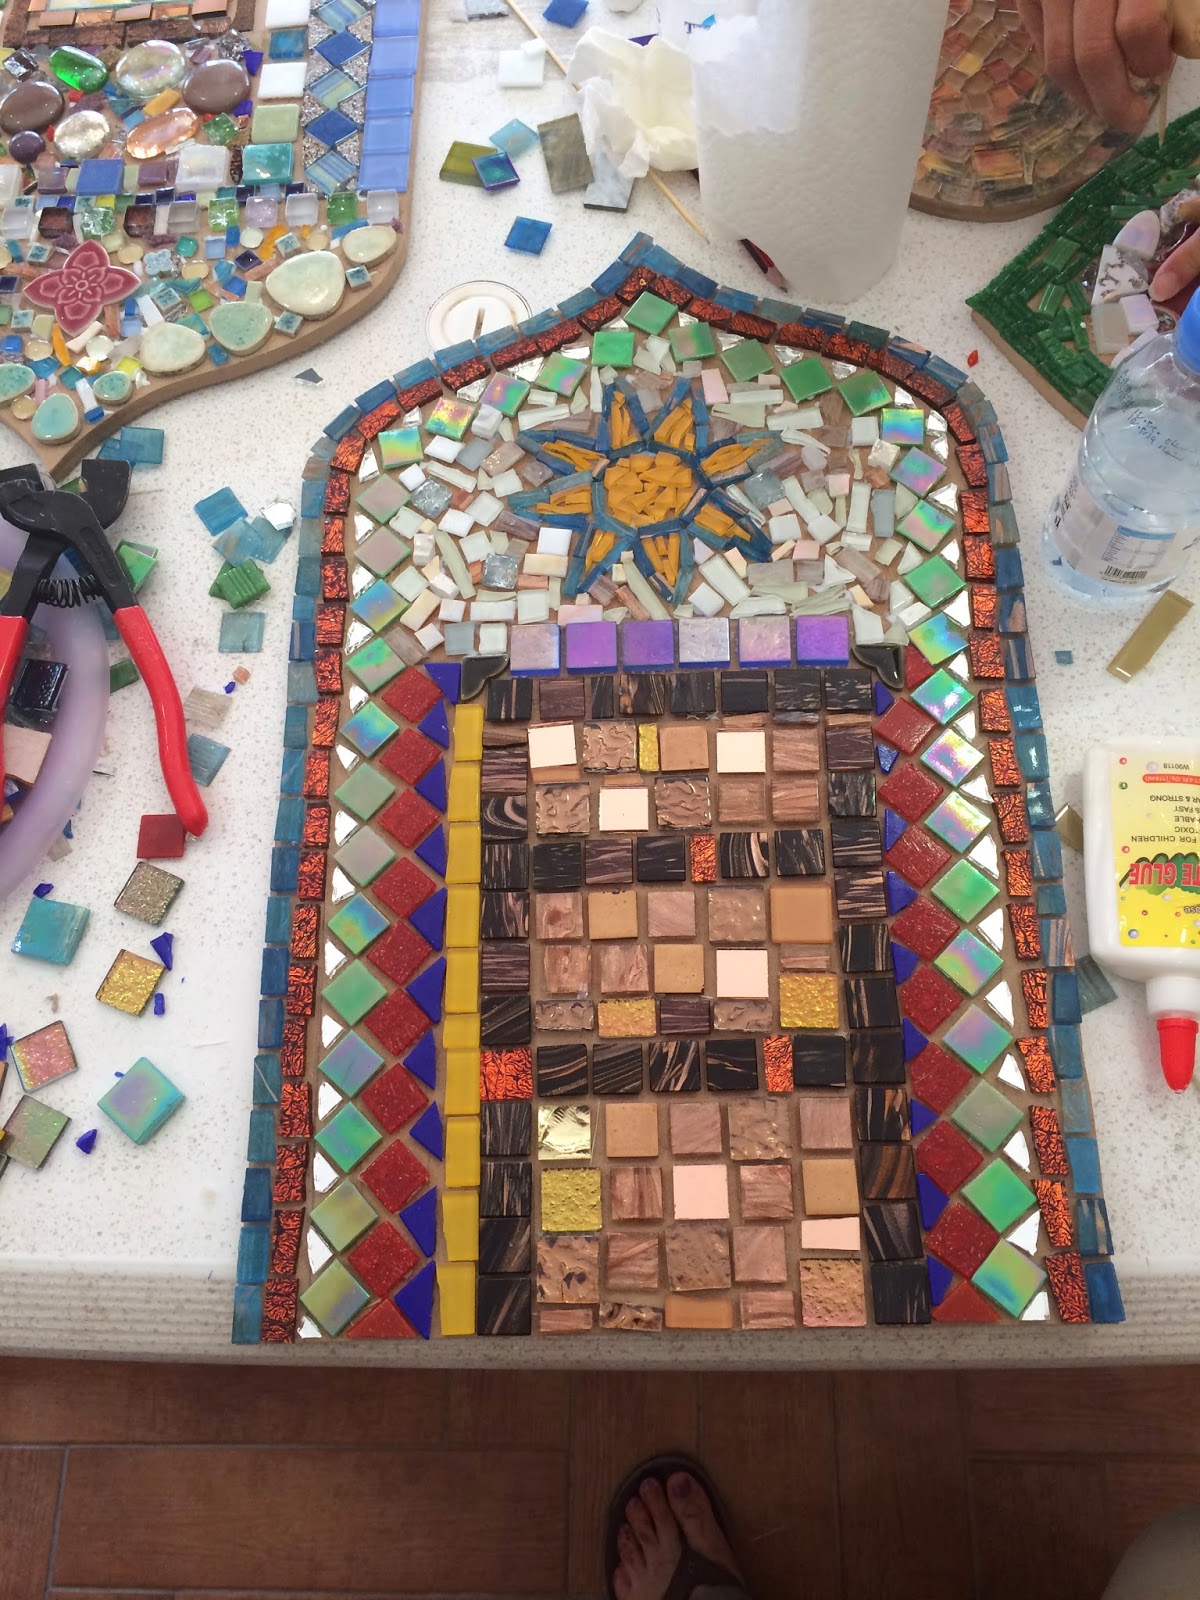
All my blank spaces are filled in! You want to lay the tiles with a small amount of space between them to make room for the grout (which is what actually holds the tiles in place eventually). I used a lot of square tiles for the door, but for the arch and the border, I had to use the tile cutters. They look like a set of pliers with two blades on the ends (red handles in photo), but the action is more of a snapping (like a nut-cracker) than a slicing or cutting. Aside from making sure that tile fragments don’t go flying across the table, it’s pretty easy. Some people were getting amazingly straight cuts, but mine all seemed to be curved or uneven. All day long I joked that it was totally the tool’s fault, but at the end of the day someone picked mine up to use it and said, “Oh, this one doesn’t work right!” So maybe my cut tiles would look straight and professional if I hadn’t had a broken cutter. Stay tuned for that update . . .
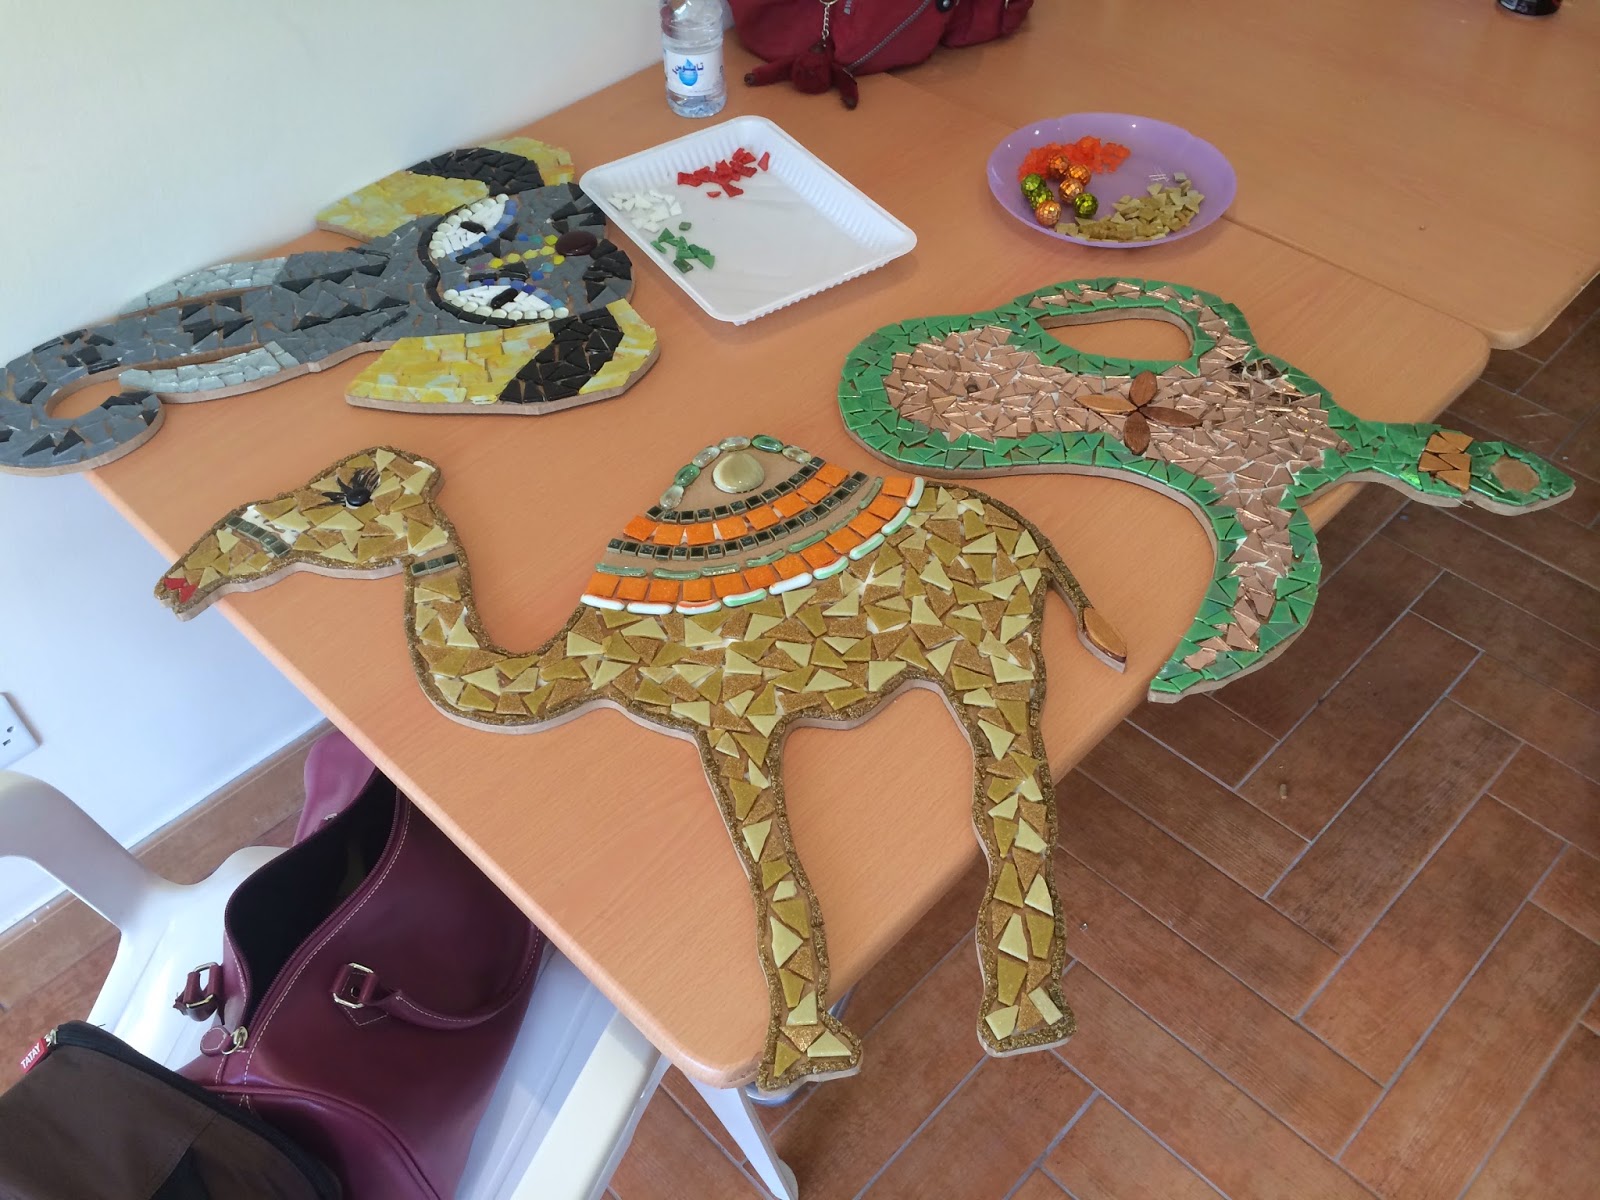
We worked from 10am until 3pm almost non-stop. The pieces are much bigger in person than they look in the photos and it’s a lot of decisions to make: color choices, shapes of tile/layout, size of pieces, finding the last few of one color to make your design work, etc. Around 1pm, the lady running the class served us all an excellent lunch, but I had to hurry up and get back to the tiles. (above are an elephant, camel, and coffee/tea pot)

By 3pm everyone has to be finished gluing so the tiles have a chance to set before applying the grout. We take about 30 minutes to sort all the leftover tiles that were pulled out throughout the course of the morning. Try finding the one jar with the metallic brownish gold tiles in the middle of a sea of glass!
Half of the fun was walking around and seeing what other people did with the same tiles or how two camels, lizards, or mosques end up looking completely different.
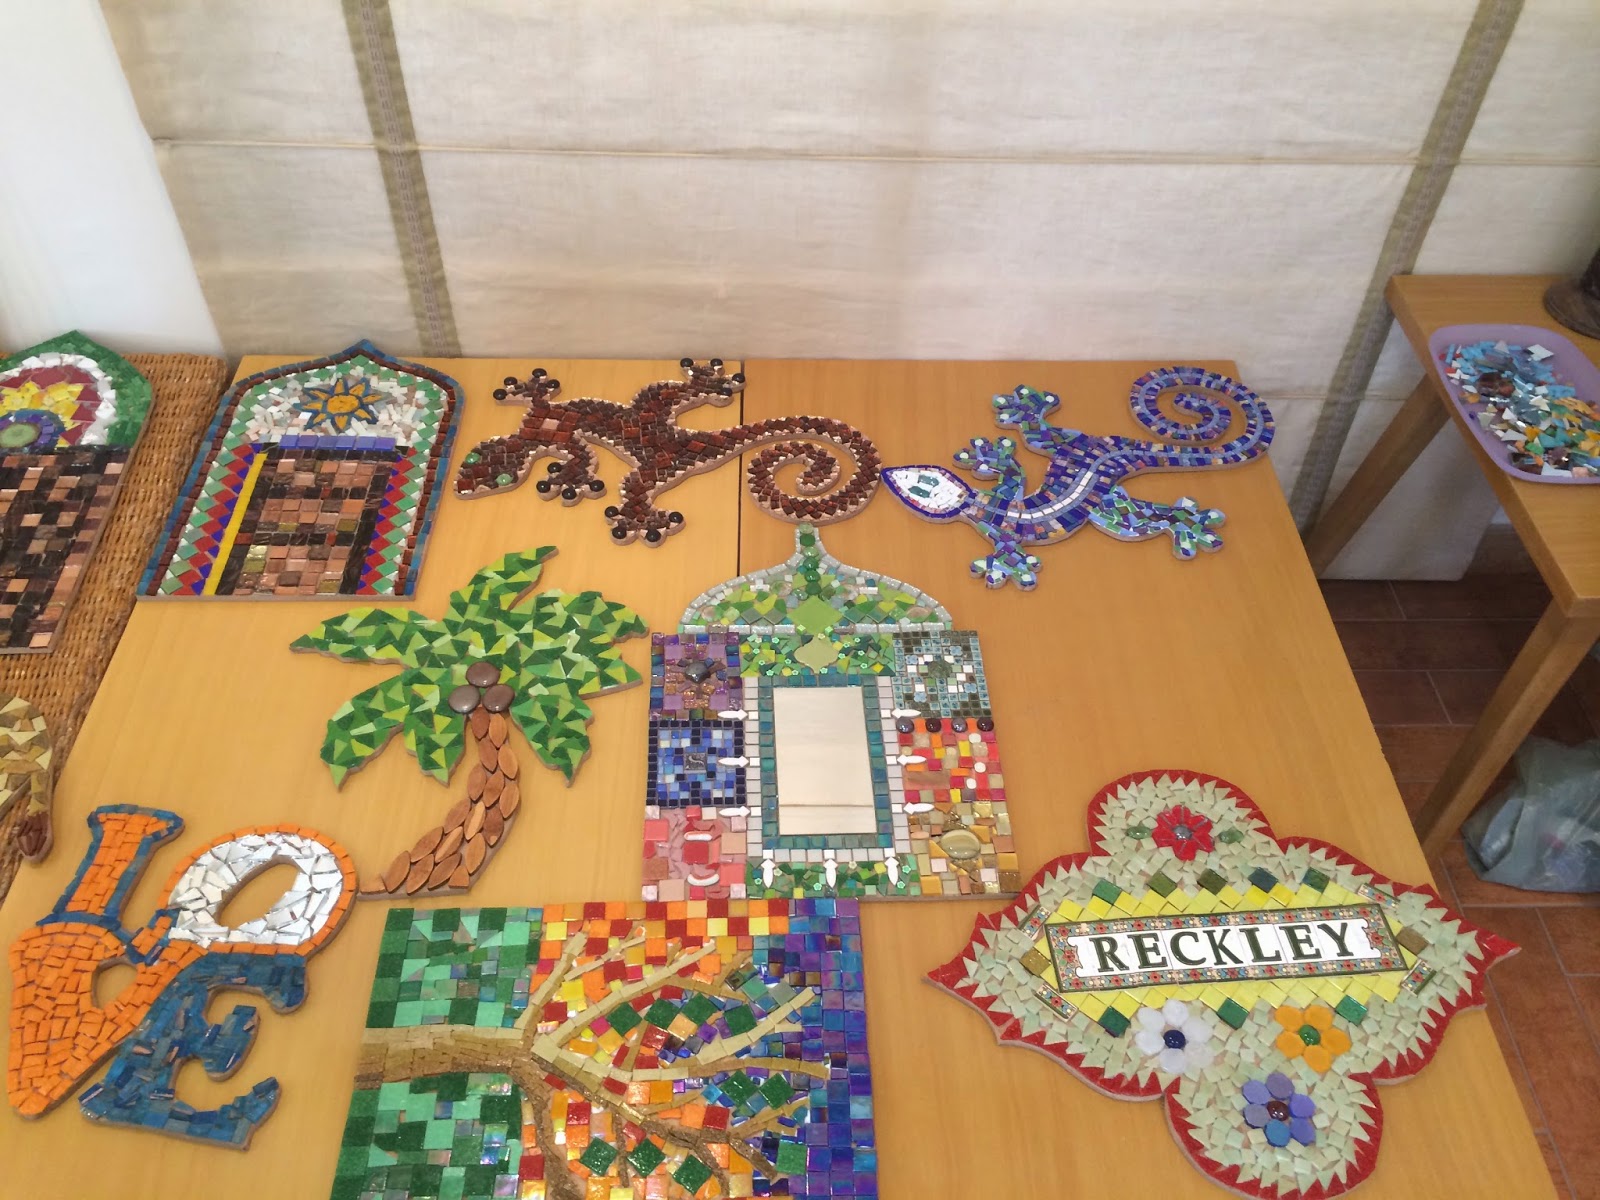
I love the reddish lizard that is at the top next to my door. You can’t tell from the photo, but it’s a bronzy gold and red glass that shimmers in the light. The bottom square one is a tree of life design that the woman sketched out herself.
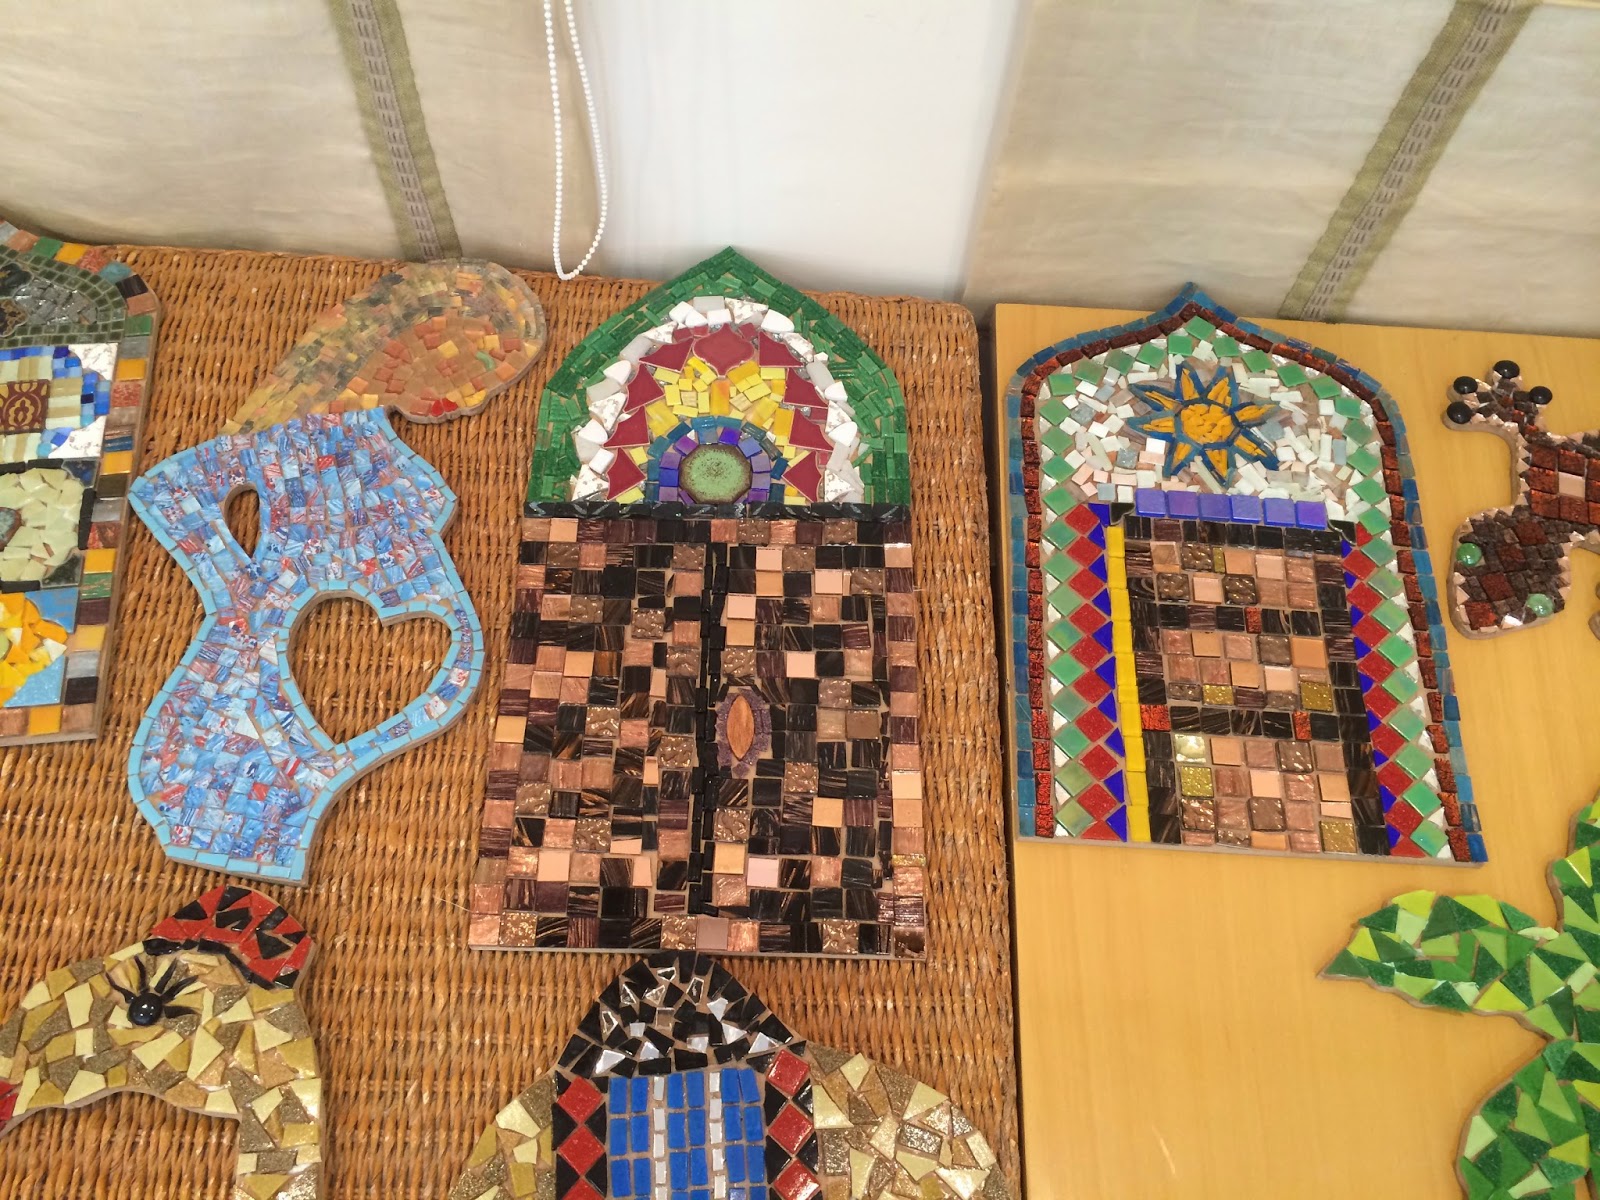
On the left is my friend’s mother/baby piece. She’s going to put a baby photo inside the heart and hang it as a frame.

After the glue is set, it’s time to apply the grout. Do not use this photo as an example for all of your future tiling projects. It’s too dry and thick of an application.
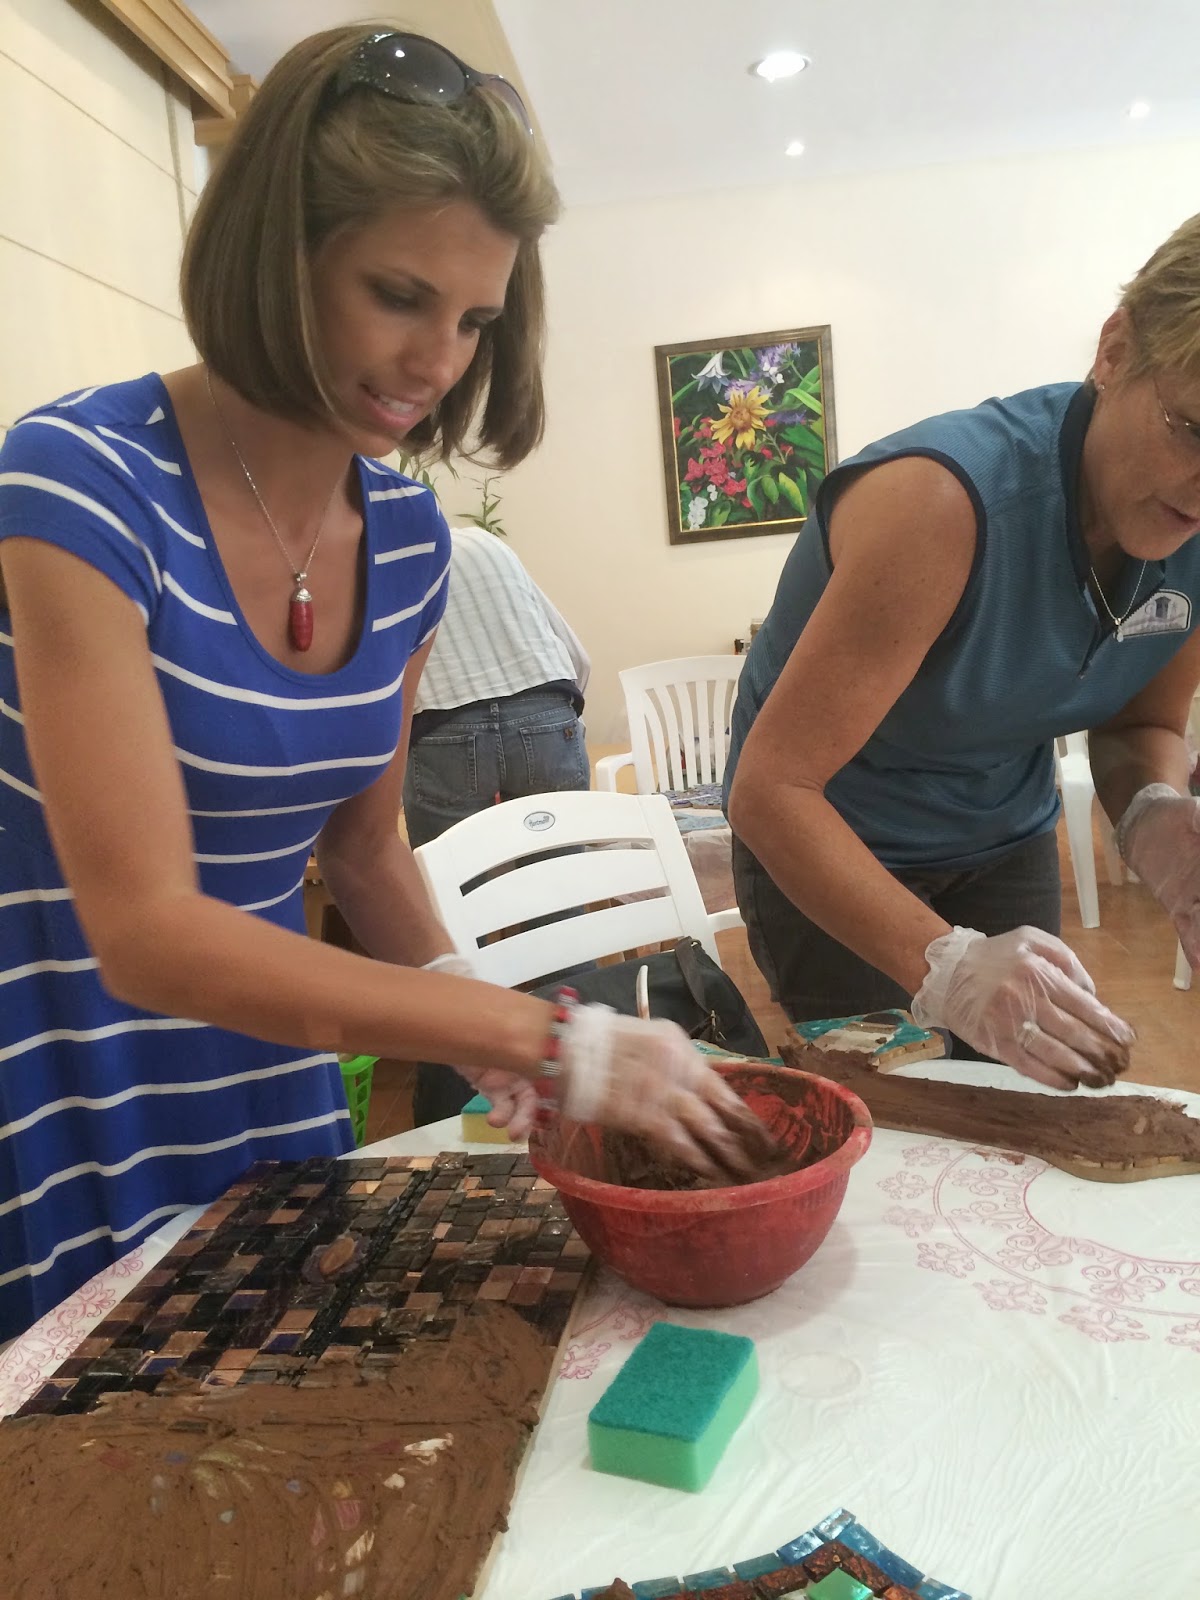
The grout is pressed into every single crevice and then gently wiped off the top with a damp sponge. It seems like it is NEVER going to come clean. Wipe, rinse the rag, wring it out, wipe some more.
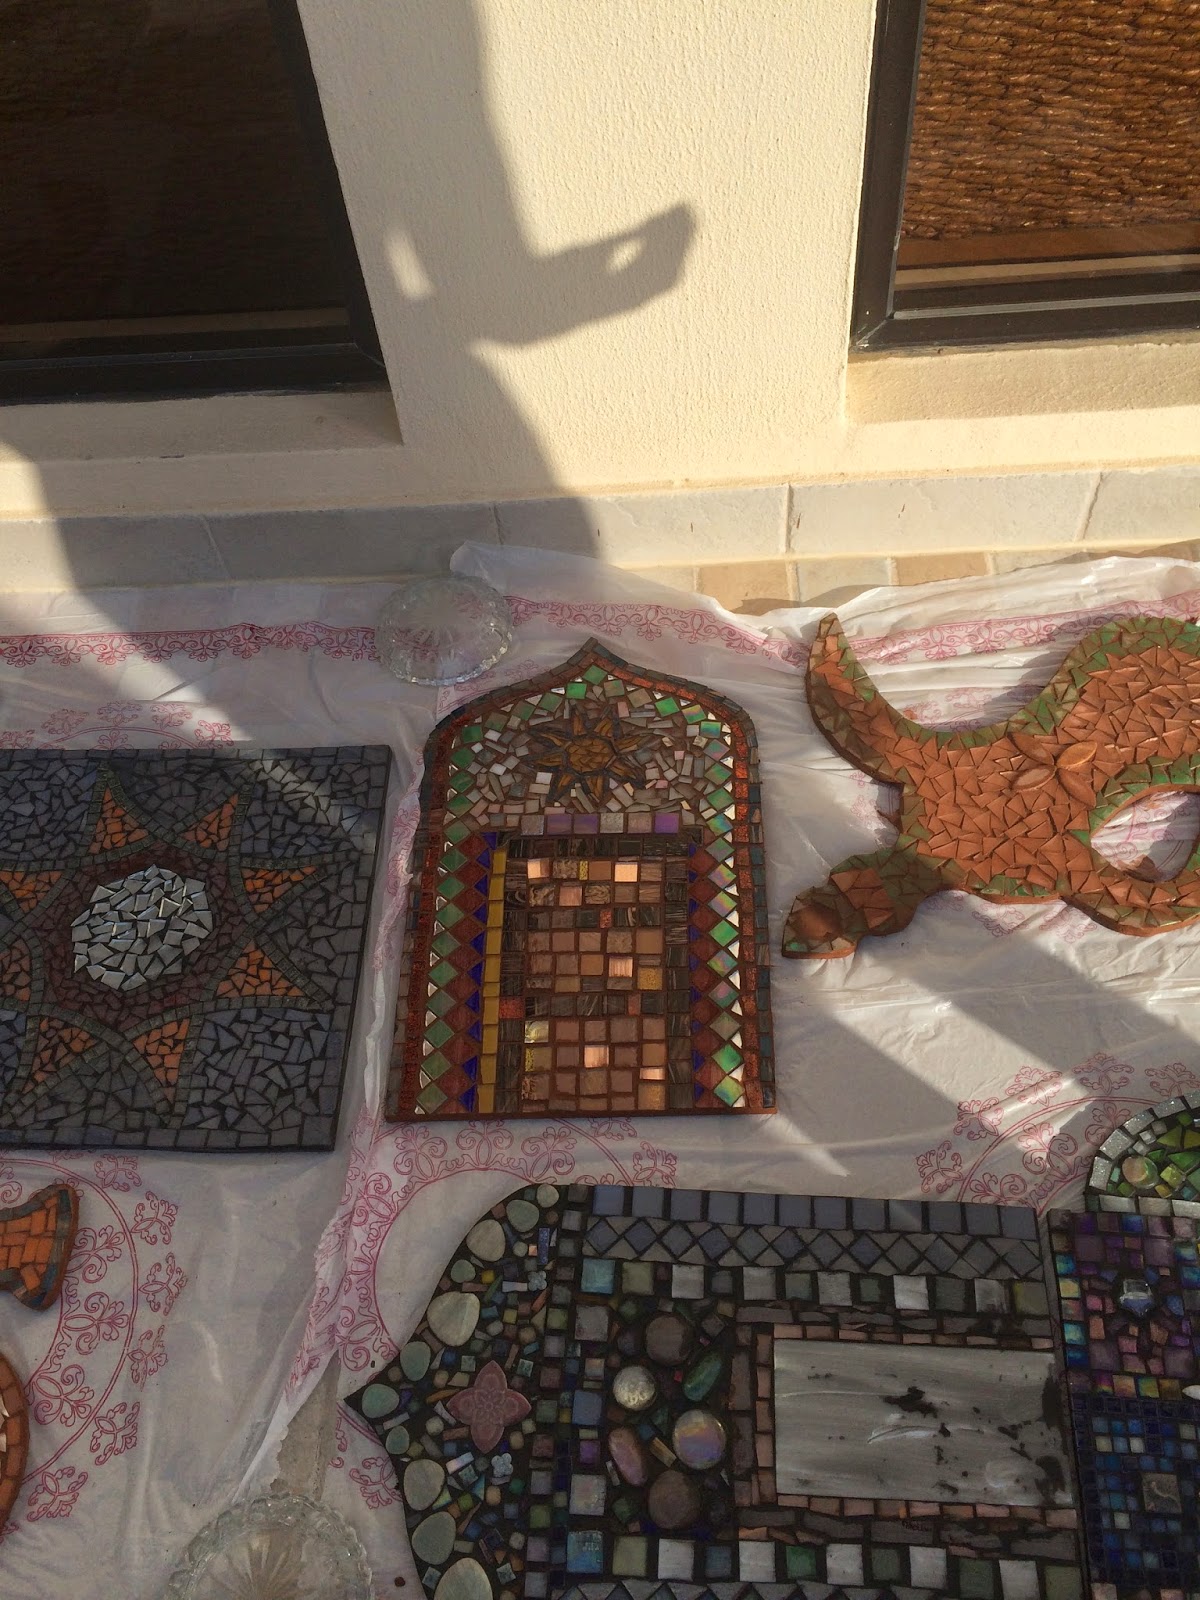
Finally the tiles begin peeking through and the pieces are set outside to dry completely.

After it’s completely dry, the individual tiles have to be polished with a soft rag to remove the haze from the clay.

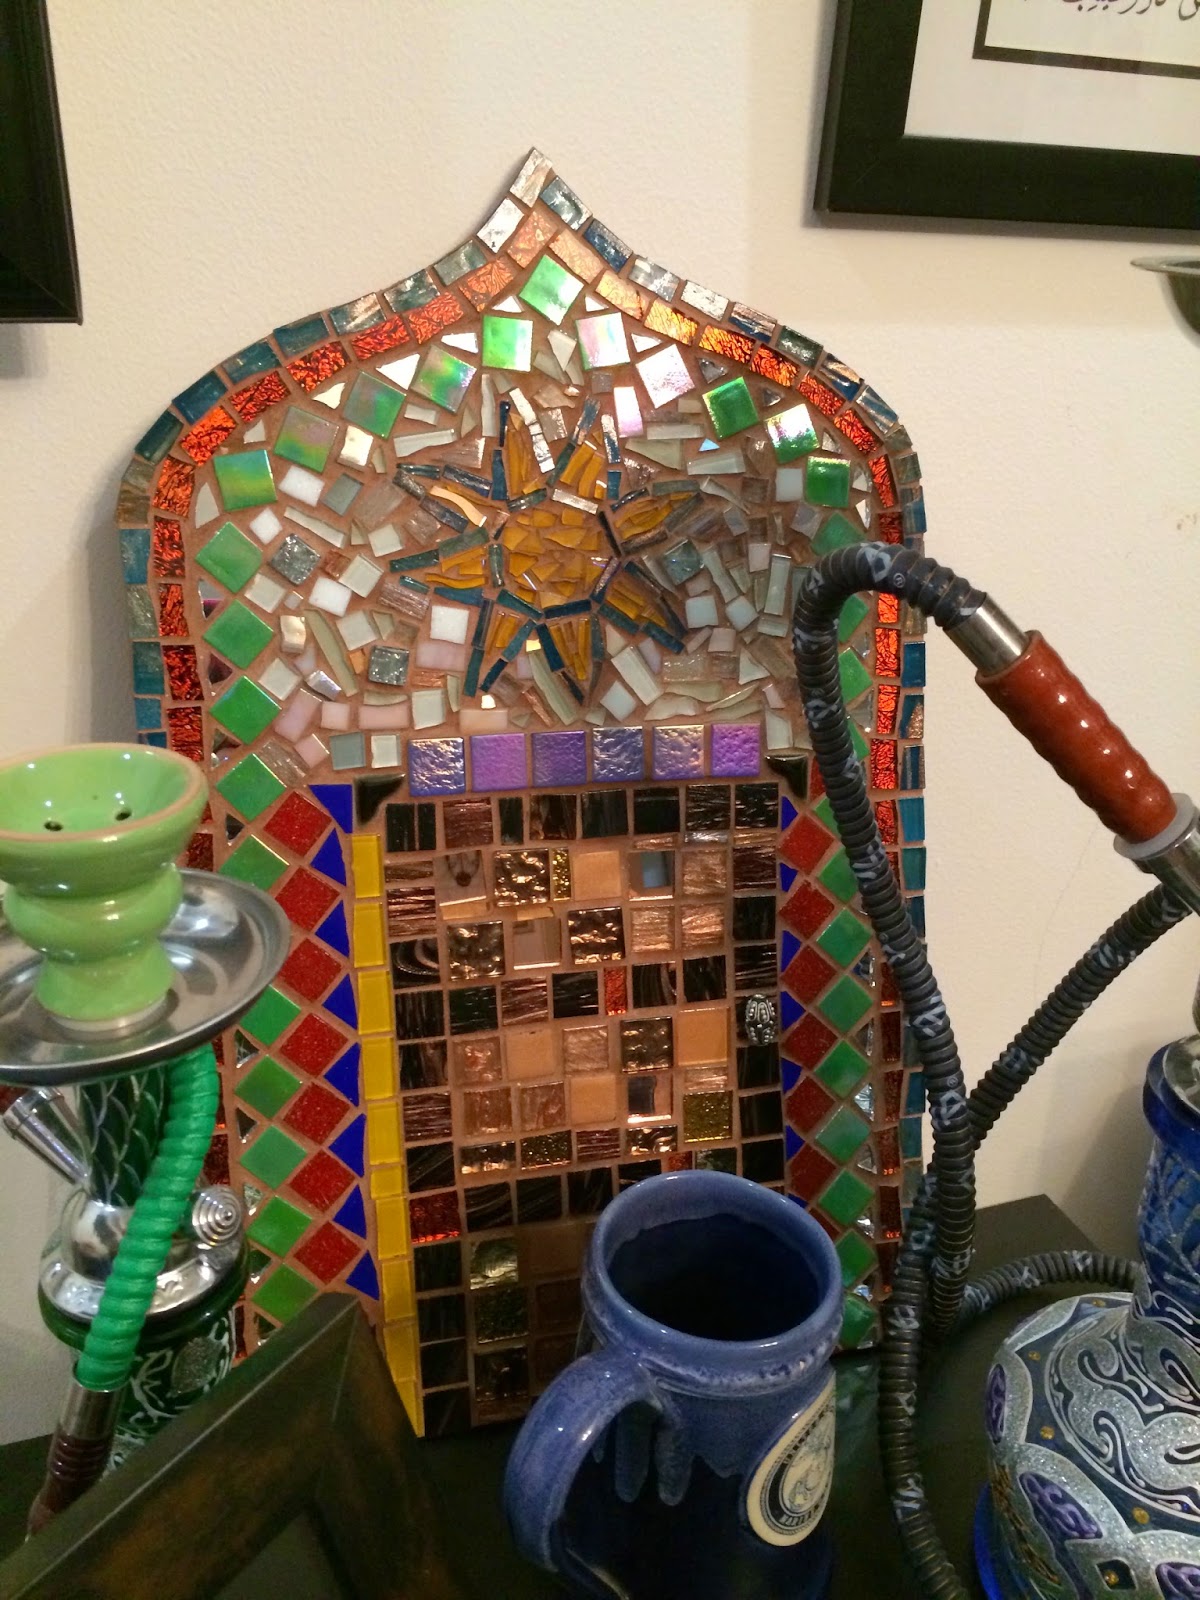
At home and on display!
It was so much fun, I already booked myself for another class. Carter and I are going to spend this Saturday making camels.

And because no post is complete without a funny picture of Camille . . .