“traditional” stockings

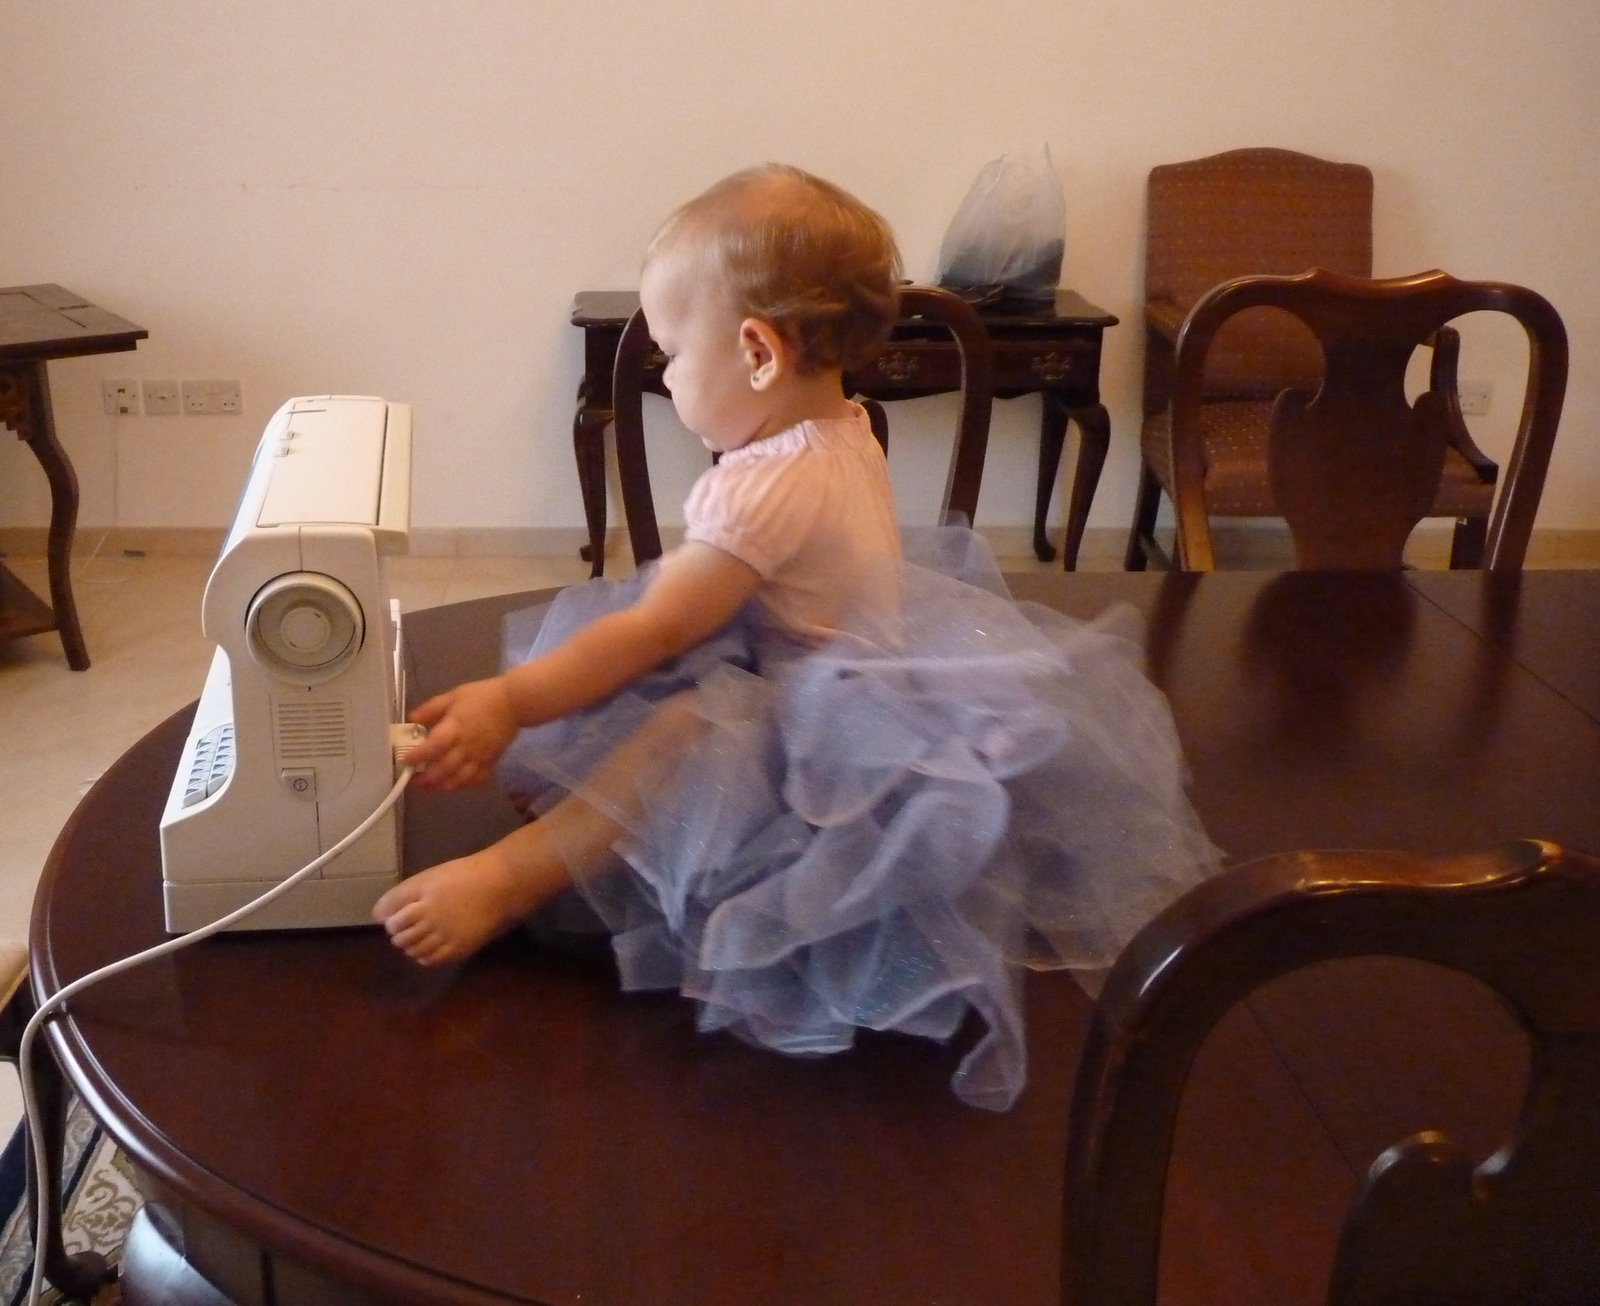
The sewing project that I’ve been working on for the last few days is almost completed. All that’s needed is a little ironing, a little hand sewing and some loops to hang the stockings.

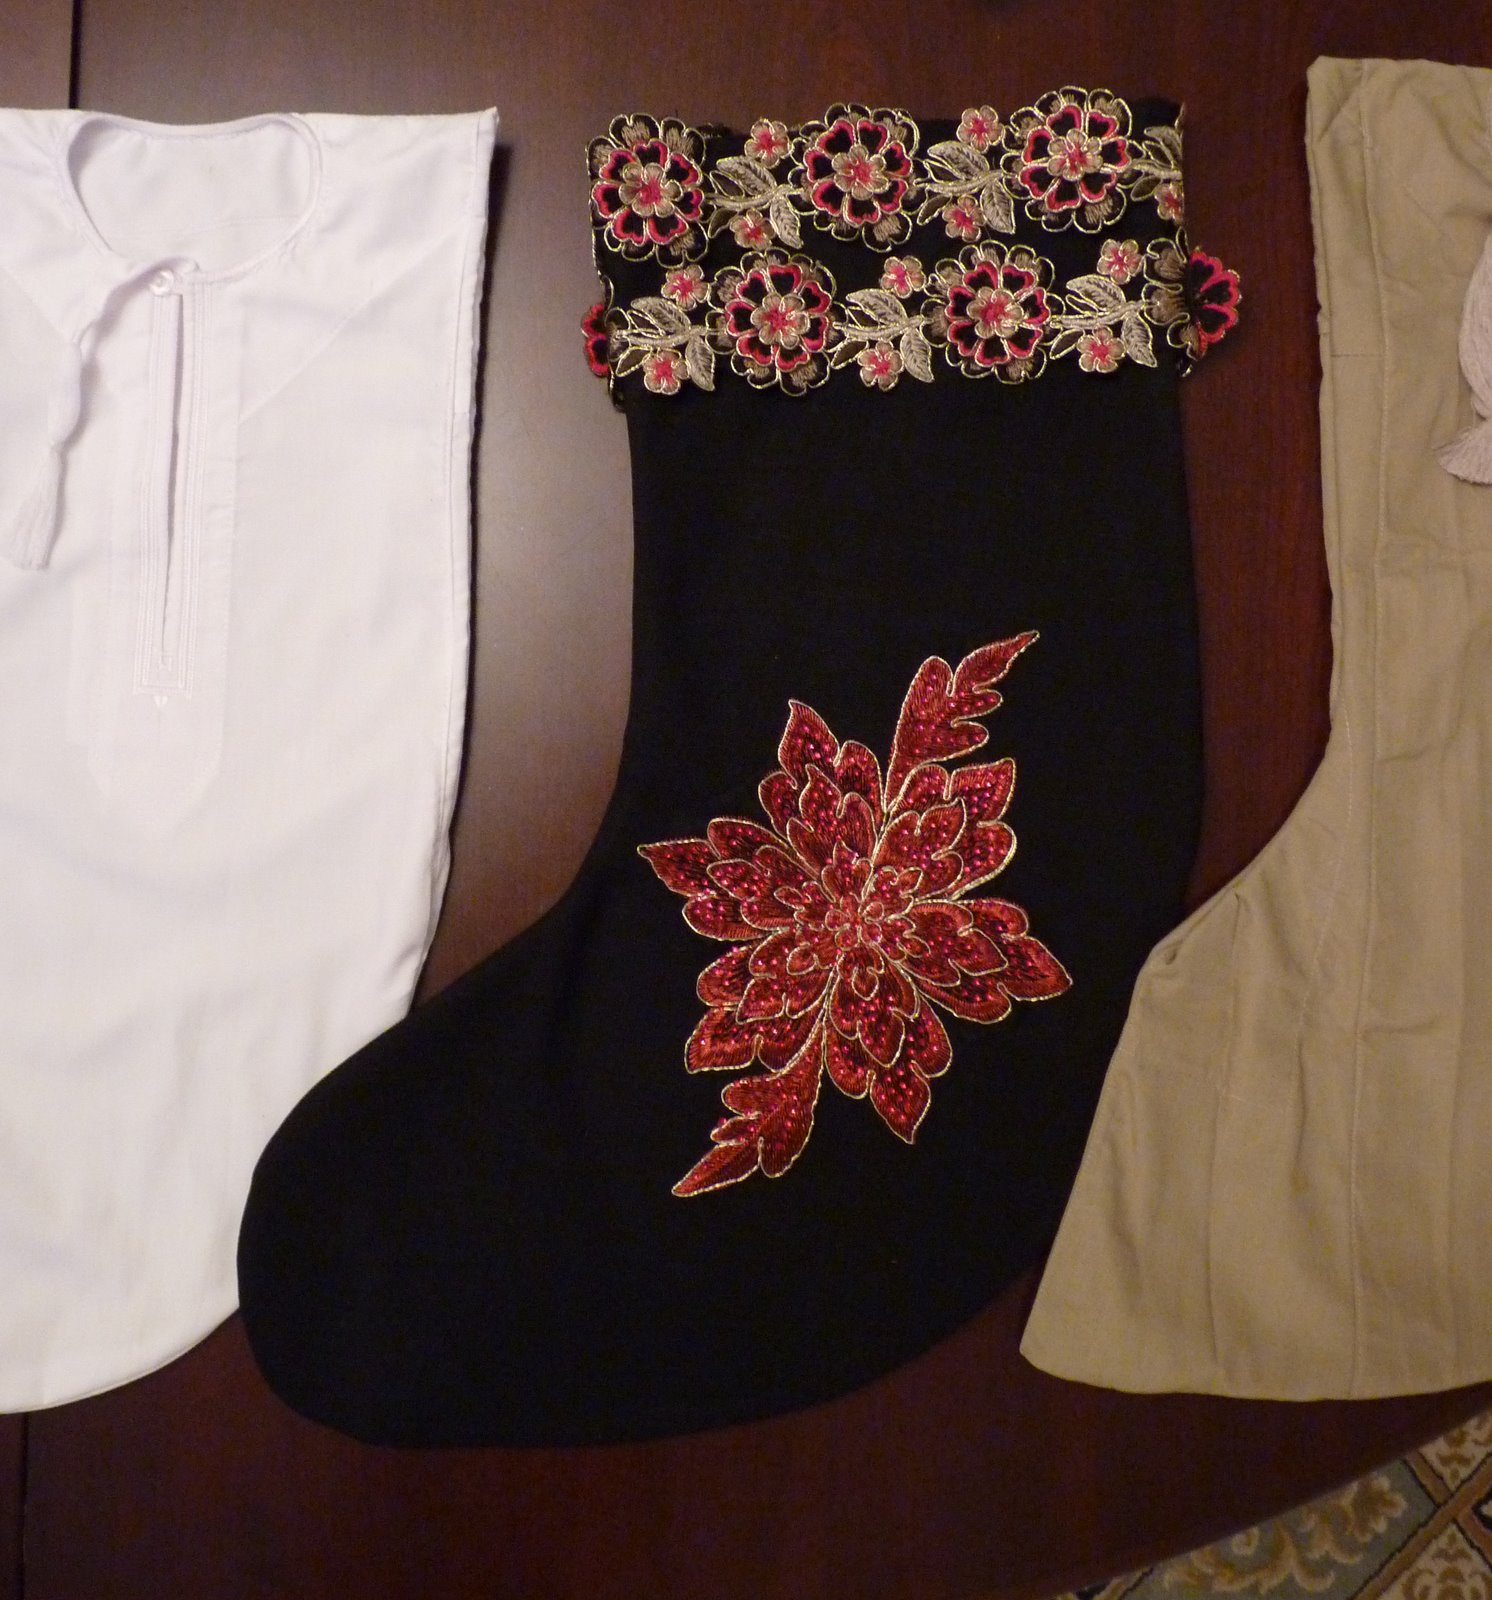
Yep, I made “Omani” Christmas stockings. I was at a fabric and notions store where they sell all the beading and trimming for the abayas that the women wear here when inspiration struck. I decided to make abaya styled stockings for Camille and me and dishdasha stockings for the boys.


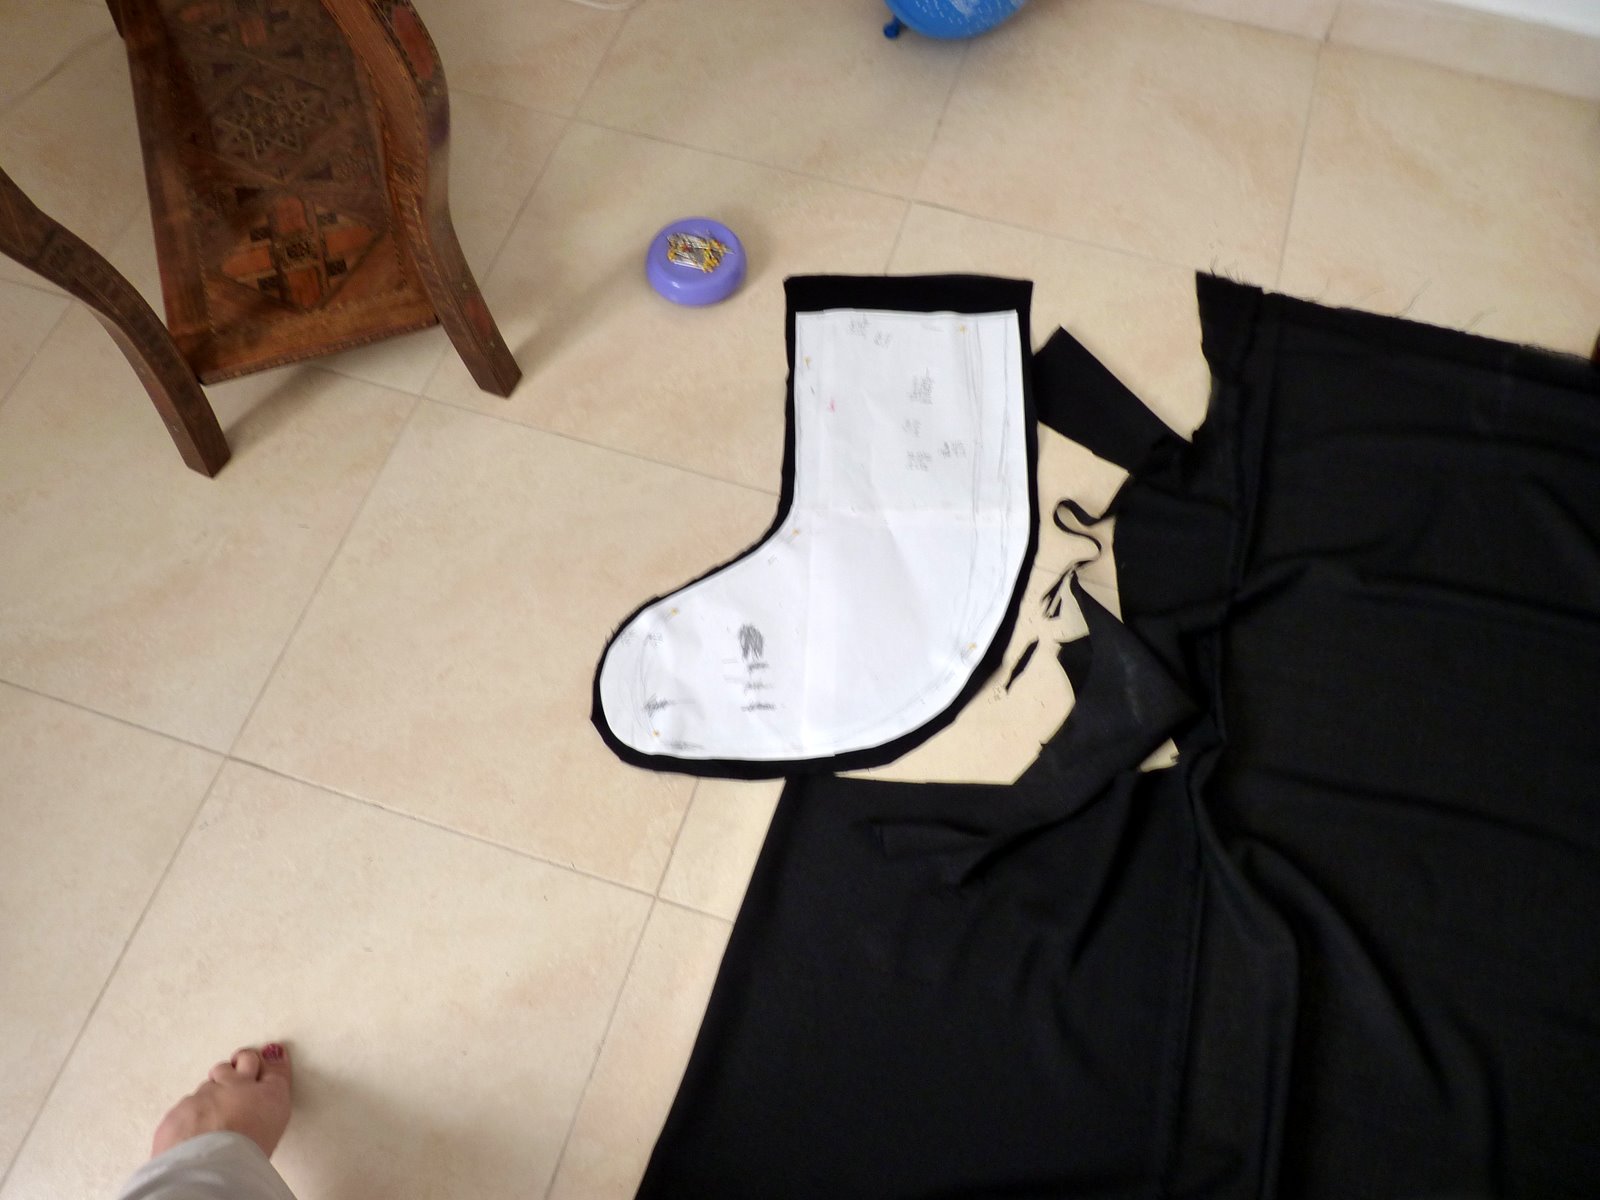
I taped a few pieces of printer paper together and cut a stocking shape out to use as my pattern. Then I cut out and sewed up the black fabric, applied the trims and embellishments by hand and then created a second plain stocking to use as a lining (the abaya fabric is lightweight so it would droop without a lining to help hold its shape). 

For the boys I used little boy sized dishdashas. I turned them inside out, pinned the pattern to the front, sewed around the edge of the pattern, and cut away the excess. The toe of the pattern hung over the edge of the dishdasha so I used the side seam as the edge (that’s why they have a blunt edge at the toe). I was going to add fabric to create a toe, but I like how it looks. 

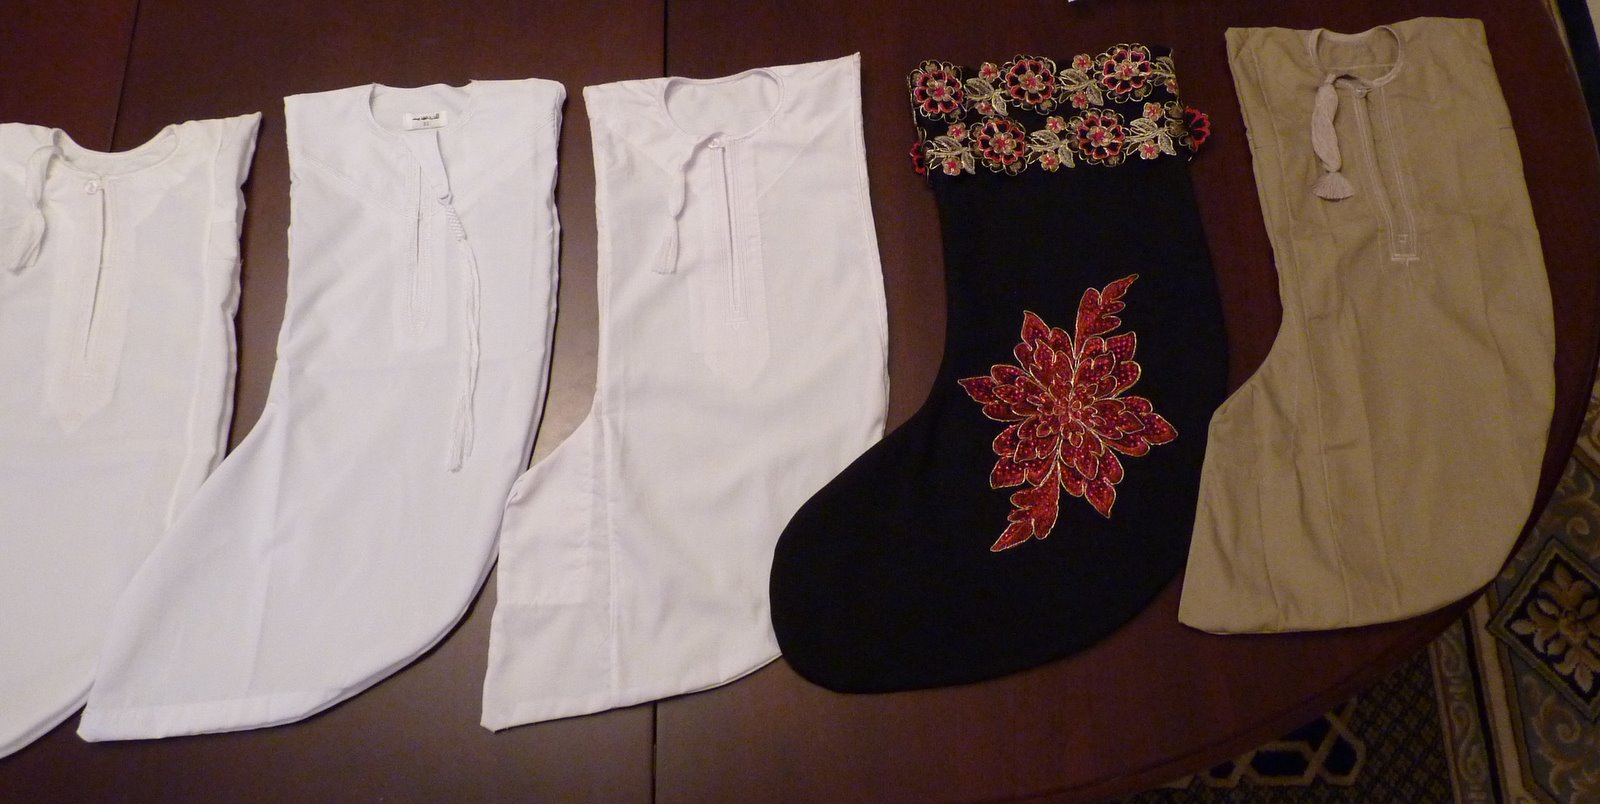
Camille’s finished stocking. I’ll snap a photo of them once I get them all hanging, but couldn’t wait to share them.

tutu

It turns out that there is a whole other world of crafting and sewing that I haven’t explored because I’ve had boys until now. Who knew that it was ridiculously easy to make a tutu with some tulle and elastic? Obviously the entire entire internet, judging from the thousands of results that come up when you search for “tutu tutorial,” but I was in the dark until a friend pointed out the glittery tulle in the fabric store and said, “you could make a tutu today.” So I did.

A pair of scissors, a length of elastic, and the only sewing required is stitching the ends of elastic together to make the waistband of the skirt. The tulle is cut into 4 inch wide strips and then looped around the elastic as if you were adding fringe to the edge of a knitted or crocheted blanket. Easy-peasy.

This smart girl realizes this is where the magic happens. Someday you’ll get your own machine and together we’ll make tutus and capes for your babies. 
This isn’t the black and sparkly craft project that I thought I’d be sharing on my blog today. This is where I got side-tracked when I went to the fabric/notions store to buy supplies for my other project. I’m about 1/2 finished with the original idea and I’m hoping to finish it in the next day or two — unless I get caught up in tutus again. I have 3 different colors of tulle sitting on my dining room table calling my name. They want to be a pink, purple, and magenta skirt. I never thought I’d be a tutu mom . . .

Phase 3: Paper Chains

First we had the naked tree. Then the musical lights with the store bought, “unusual” ornaments. Then came the homemade construction paper glitter ornaments, followed by another wave of lights — this time flashing LEDs and an “interesting” lighted tube of lights (the blue glowing thing on the tree). We have a power strip tucked up inside the tree to hold all the plugs since none of the strands here plug into each other. Since we have 5 different types of lights on our tree, the non-connecting part didn’t matter anyway.

The final phase of tree decorating this year is the paper chain. I went out and bought a pack of colored construction paper and Carter, Caleb, and I put together a long paper chain tonight to wrap around 2/3s of our tree. The bottom third we’re leaving pretty bare, since Camille already ate several candy canes that turned out to be within her reach. We had to readjust and shuffle everything a few feet up.

Look at this little girl — she holds a pencil correctly. No one ever showed her, she just does it that way naturally. I would wonder if this is one of those “girl things,” but she didn’t get it from me . . . I can barely hold a pencil correctly as an adult.

She is dangerous with the scissors — trying to open and close the blades as fast as she can before mom steps in to ruin her fun. 

The finished labor of love. 

A friend crocheted this cute little santa for me when she heard we didn’t have any ornaments. Isn’t he awesome?
I’m not big on Christmas decorations (really, holiday decorations in general), but this turned out to be really fun. I didn’t think that putting up a tree would be worth the time and energy and I knew we didn’t need a tree to celebrate Christmas, so I thought this year we would go for the “minimalist” approach. I’m a fan of minimalism because it’s a fancy label to throw out when I don’t feel like trying to impress anyone or when I’m feeling too lazy to drag a 7 foot tree out of the closet under the stairs. 
But this minimalist turned out a tree that made all the kids happy and we even got a little crafty in the process. I’m actually considering making stockings this coming week, just for fun. I was going to try and whip some knitted ones out, but I only have sock weight yarn (for those non-knitters that means I have very thin yarn that would take a million stitches to make a stocking-size sock and that would take months, not days) so my alternate plan involves black fabric and something sparkly. Stay tuned for “minimalist Christmas,” part 2. 

Tree quilt layout

 
Posted by Picasa

This is the layout of all the quilt block centers — the months of the year surround the central tree which will have leaves/flowers from 3 of the 4 seasons (cause I don’t want a 1/2 dead looking tree, even if it does represent winter).

Quilt center

 
Posted by Picasa

A close up of the center medallion. It’s pretty just like that, isn’t it? I’ll probably end up making it look ugly once I start sticking leaves and flowers on it.